Deploying ElasTest on Amazon Web Services
The easiest way to deploy ElasTest is by using our Amazon CloudFormation template. In a few steps by clicking a couple of buttons and filling a form you will have your ElasTest ready to go. If you don't have an AWS account you will need one (follow those steps to get it).
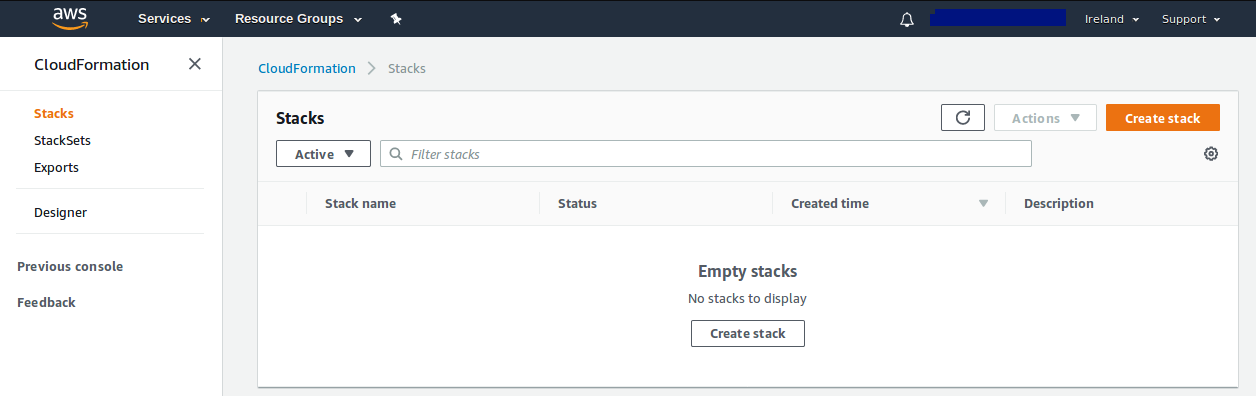
1) Go to AWS CloudFormation dashboard and create a new stack
2) Select option "Choose a template" and use this YAML file

3) Complete the form shown on the next step with the following information
| Parameter | Value | Details |
|---|---|---|
| Stack name | The name of the stack | Elastest is OK |
| DiskSize | 50G should be ok for testing the app | In a production ready environment set to 100GB |
| ElastestPassword | Your password | Password to access the platform |
| ElastestUsername | Your username | Username to access the platform |
| ElastestVersion | latest | Which version of elastest do you want to launch. latest version points to the last stable release of ElasTest, so it is always safe to use |
| ElastestMode | mini, singlenode | The ElasTest mode |
| InstanceType | The type of machine you want (recommended at least m4.large) | Elastest needs resources to run, please be genereous |
| KeyName | One of your AWS keys | RSA key to access the instance through SSH |
| SwapSize | Recommended at least 4G | The amount of swap memory in GB |
| WantJenkins | true | Choose wether you want to deploy Jenkins CI with Elastest |
| WantTestLink | true | Choose wether you want to deploy TestLink Project Manager with Elastest |

If you need to use a specific DNS, you will have to start ElasTest manually
4) Deploy your stack
No more configuration is needed. Click on Next -> Next -> Create
Your stack status will show CREATE_IN_PROGRESS. Wait a few minutes (between 20 ~ 30) until it shows CREATE_COMPLETE. Then you can check Output tab to see the URL where you can access your ElasTest dashboard.
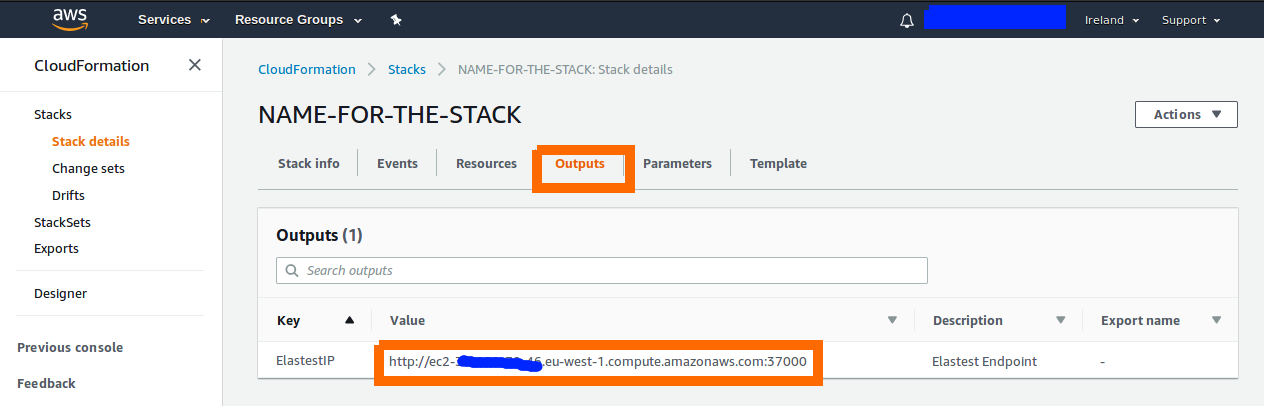
That's all. When you connect to your ElasTest URL, enter the username and password you declared in the third step. Happy testing!
ElasTest data
You can see the Elastest data information here