Getting started
ElasTest can run in differents platforms like Laptop, Linux VM and Server. We use for this example the Linux Laptop deploy for wich need the following system specifications:
| Processor | 1GHz or faster |
| RAM | 16GB |
| SWAP | 4GB (if RAM < 16GB) |
| Hard Disk | 30GB |
Once you have docker installed, execute the following command to start ElasTest:
docker run --rm -v ~/.elastest:/data -v /var/run/docker.sock:/var/run/docker.sock elastest/platform start
If you need run ElasTest in other Operating System, Virtual Machine or in a Server, please visit the following link.
Using Jenkins integrated in ElasTest
The easiest way to have a look at what ElasTest can do for you and your tests is to make use of the Jenkins instance provided by the ElasTest platform, as it is populated with many example jobs by default.
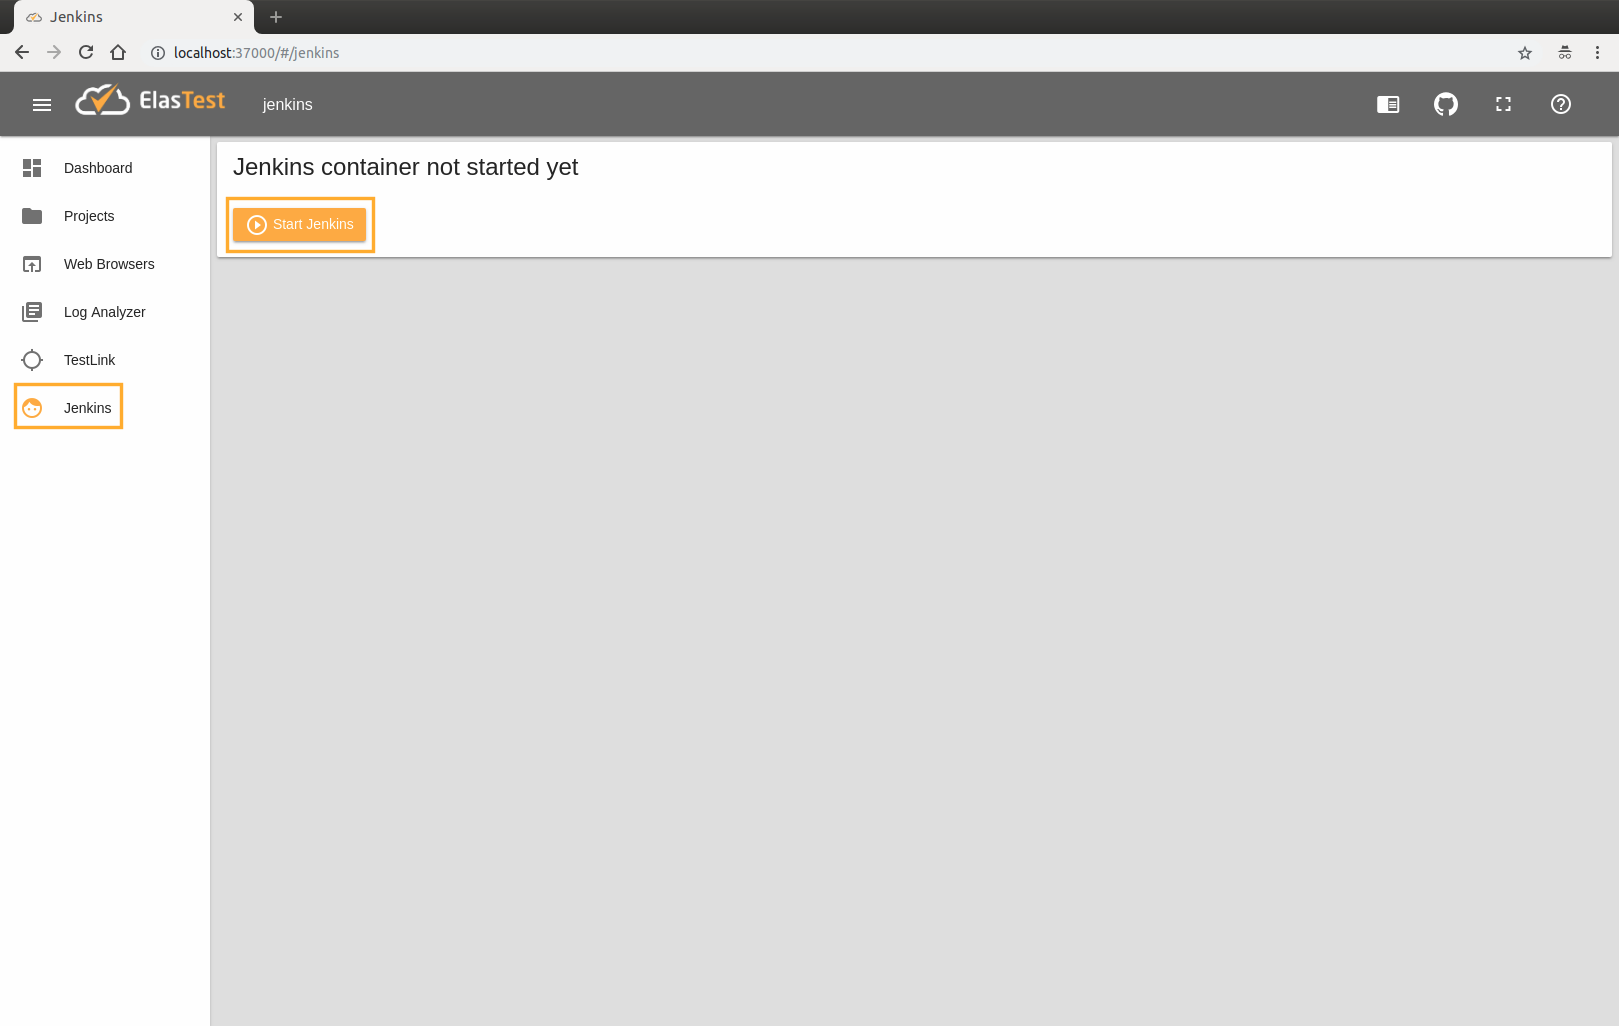
If you did not start ElasTest with the --jenkins parameter (see how to start ElasTest and its parameters), the Jenkins instance will not be running by default. However, you can start it manually from the ElasTest GUI navigating to the Jenkins section and clicking on the Start Jenkins button.
Jenkins start progress will be shown:
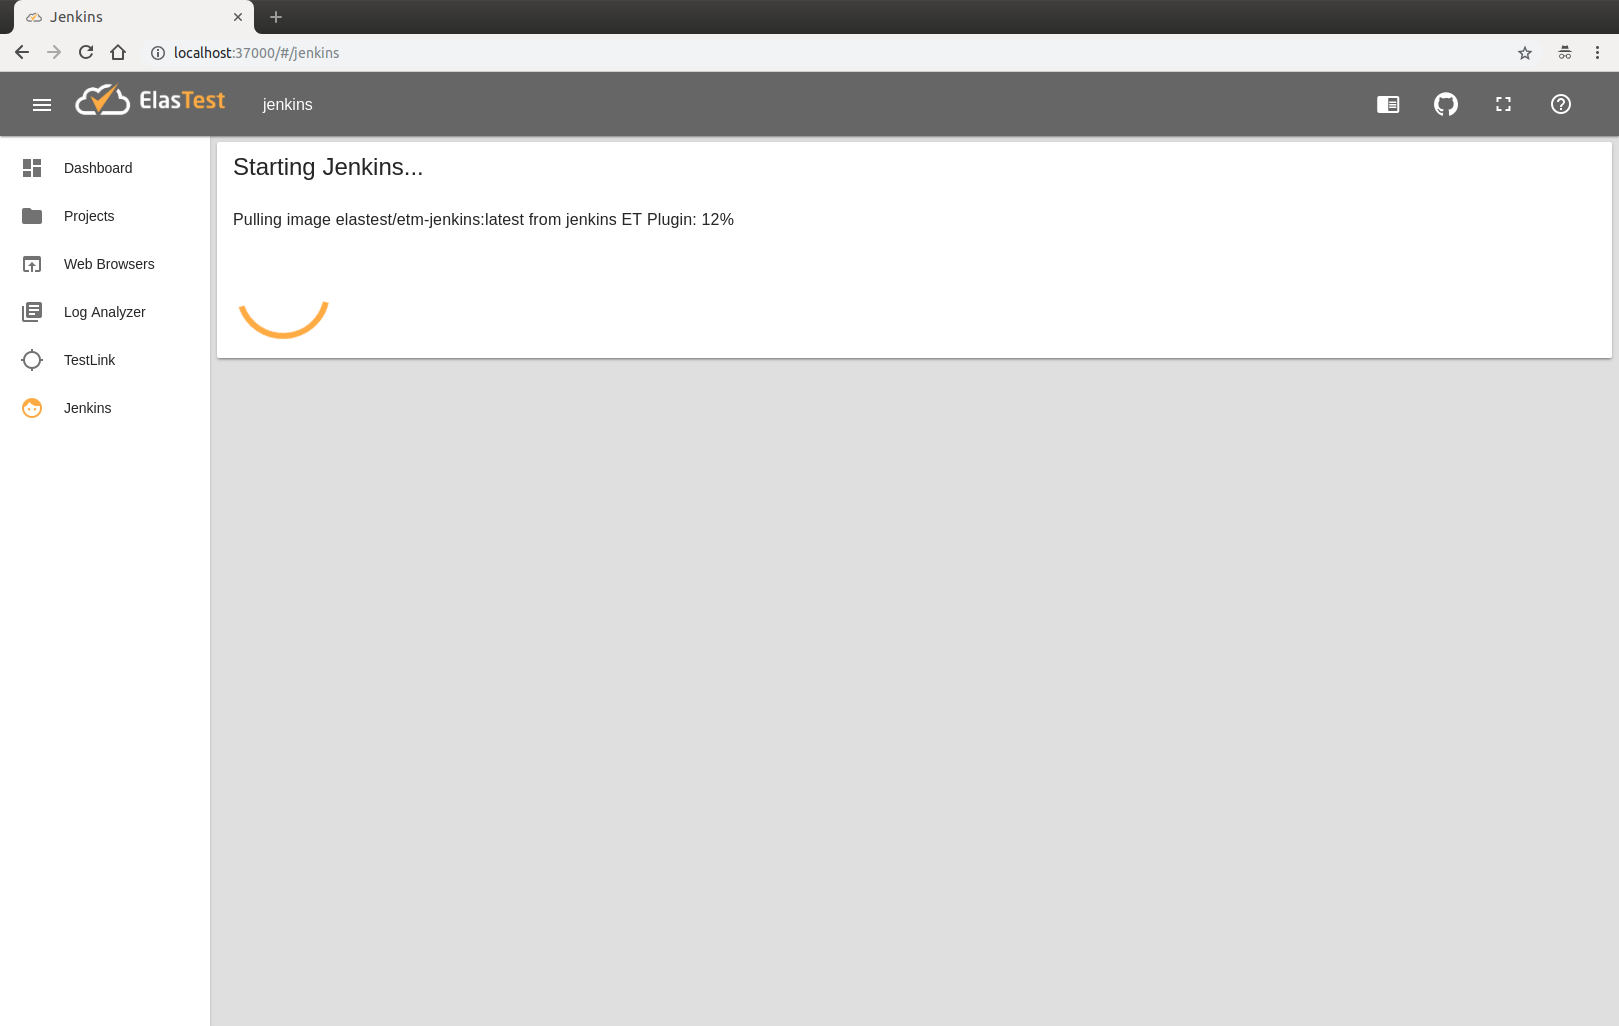
Once started, two buttons are displayed. One button to open Jenkins in a new browser tab, and another button to show the access credentials. If you started Jenkins with ElasTest --jenkins parameter, these buttons will be displayed directly, instead of the Start Jenkins button.

Running the "JUnit5 Rest Test" TJob in Jenkins
There will be a "jenkins-junit5-rest-test" sample project available on the Jenkins integrated in ElasTest (among others) so users can quickly run their first test. To do so:
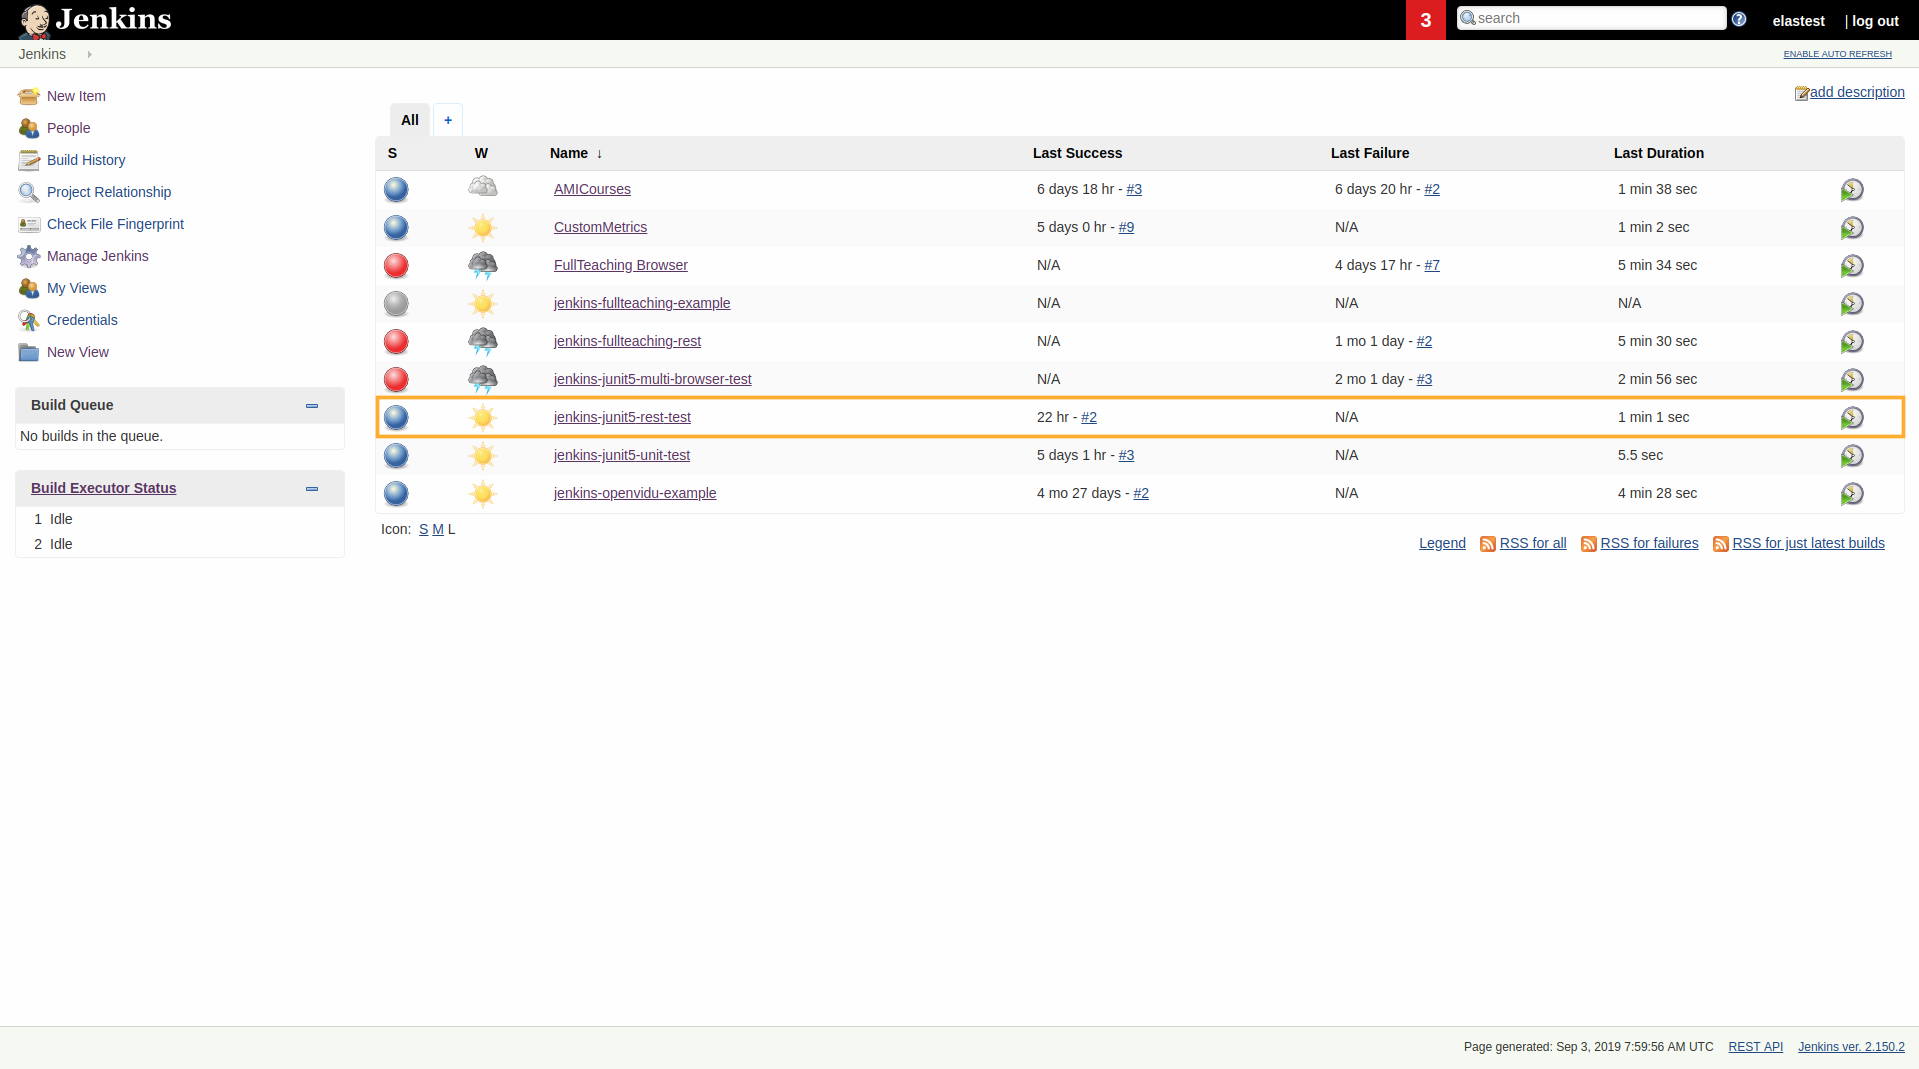
If you use the Jenkins integrated in ElasTest, click in the jenkins-junit5-rest-test Job and go to the 4 STEP, however if you don't use the integrated Jenkins following the next steps:
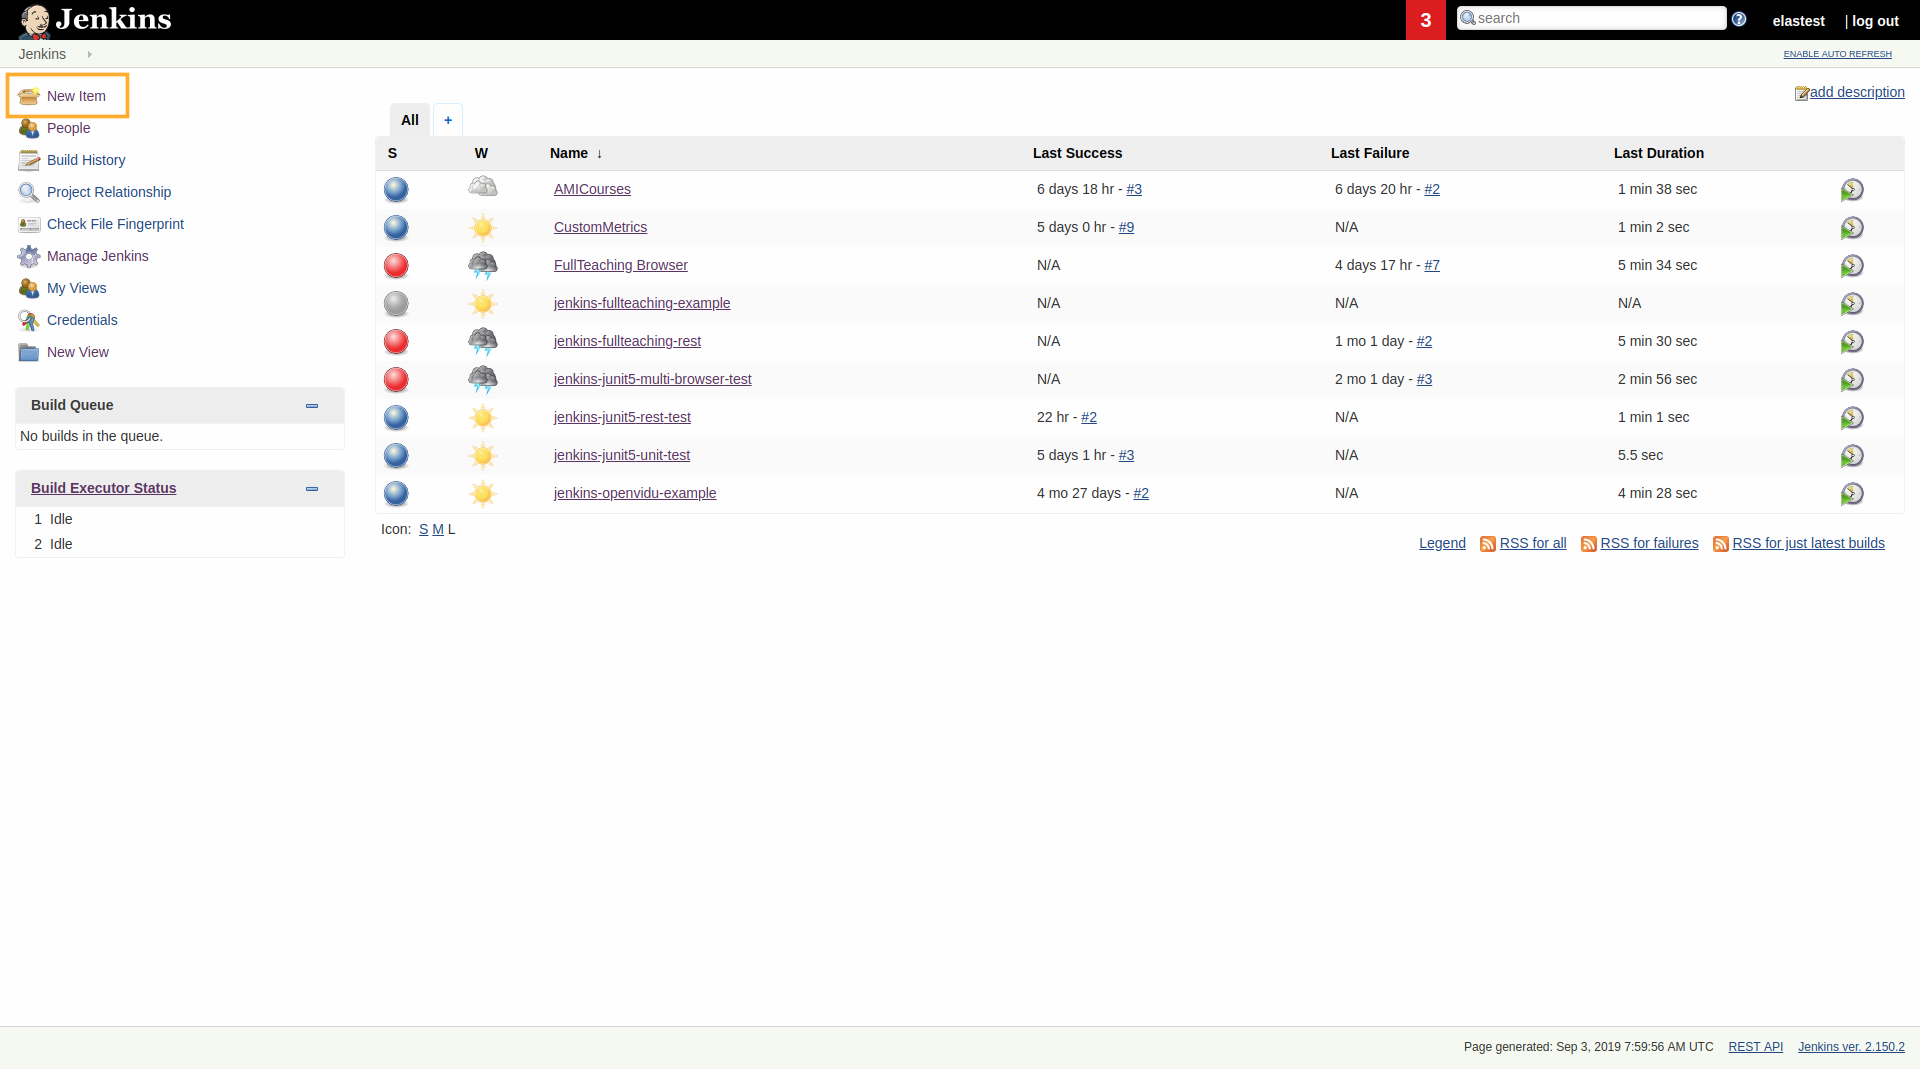
1. Access your Jenkins
When you will open Jenkins click in the New Item
2. Define the name and type the Job
Input the jenkins-junit5-rest-test and select the Pipeline option them click in the Ok button:

3. You add the Pipeline
In the following section we will see the Pipeline with ElasTest and without ElasTest and compare them.
Normal Pipeline (Without ElasTest)
node{
    stage ('Executing Test') {
        docker.image('elastest/demo-rest-java-test-sut').withRun('-p 8080:8080') { c ->
            echo 'Set up test environment'
            mvnHome = tool 'M3.3.9'
            echo 'Cloning repository'
            git 'https://github.com/elastest/demo-projects'
            echo 'Run test'
            sh "cd ./rest/junit5-rest-test;'${mvnHome}/bin/mvn' -B test"
        }
    }
}
The example above can be split into the following sections:
- Start SUT : This block started the SUT application.
...
docker.image('elastest/demo-rest-java-test-sut').withRun('-p 8080:8080') { c ->
...
- Run Test : The tests execute if the SUT working correctly.
...
echo 'Set up test environment'
mvnHome = tool 'M3.3.9'
echo 'Cloning repository'
git 'https://github.com/elastest/demo-projects'
echo 'Run test'
sh "cd ./rest/junit5-rest-test;'${mvnHome}/bin/mvn' -B test"
...
ElasTest Pipeline
node{
    elastest(surefireReportsPattern: '**/target/surefire-reports/TEST-*.xml', monitoring: true, project: 'Jenkins Examples') {
        stage ('Executing Test') {
            echo 'Print env variables'
            sh 'env'
            def sutImage = docker.image('elastest/demo-rest-java-test-sut')
            echo 'Start SUT'
            def sutContainerName = env.ET_SUT_CONTAINER_NAME;
            sutImage.withRun("--name ${sutContainerName} --network=elastest_elastest") { c ->
                echo "${c.id}"
                def sutNetwork = getFirstNetwork(sutContainerName)
                def sutIp = containerIp(sutContainerName,sutNetwork)
                sh 'docker run -e IP=' + sutIp + ' -e PORT=8080 --network=' + sutNetwork + ' elastest/etm-check-service-up'
                withEnv(['ET_SUT_HOST=' + sutIp]) {
                    echo 'Set up test environment'
                    mvnHome = tool 'M3.3.9'
                    echo 'Cloning repository'
                    git 'https://github.com/elastest/demo-projects'
                    echo 'Run test'
                    sh "cd ./rest/junit5-rest-test;'${mvnHome}/bin/mvn' -B -DforkCount=0 test"
                }
            }

        }
    }
}

def getFirstNetwork(containerName) {
    echo "Inside getFirstNetwork function"
    network = sh (
        script: "docker inspect " + containerName + " -f \"{{json .NetworkSettings.Networks}}\" | awk \"{sub(/:.*/,\\\"\\\")}1\" | awk \"{sub(/\\\"/,\\\"\\\")}1\" | awk \"{sub(/\\\"/,\\\"\\\")}1\" | awk \"{sub(/{/,\\\"\\\")}1\"",
        returnStdout: true
    ).trim()

    echo containerName+" Network = " + network;
    return network;
}

def containerIp(containerName, network) {
    echo "Inside containerIp function"
    containerIp = sh (
        script: "docker inspect --format=\"{{.NetworkSettings.Networks." + network + ".IPAddress}}\" "+ containerName,
        returnStdout: true
    ).trim()

    echo containerName+" IP = " + containerIp;
    return containerIp;
}
The example above can be split into the following sections:
- ElasTest plugin block with configuration : this block will contain all the steps that the test must follow, as well as the necessary configuration options.
node{
    elastest(surefireReportsPattern: '**/target/surefire-reports/TEST-*.xml', monitoring: true, project: 'Jenkins Examples') {
        .......
    }
}
- Sut configuration : The SUT must be started, passing the
${env.ET_SUT_CONTAINER_NAME}env variable (provided by ElasTest) as name of the container. This will allow ElasTest to receive logs and metrics from the Sut.
...
def sutImage = docker.image('elastest/demo-rest-java-test-sut')
echo 'Start SUT'
def sutContainerName = env.ET_SUT_CONTAINER_NAME;
sutImage.withRun("--name ${sutContainerName} --network=elastest_elastest") { c ->
...
- Wait for Sut : You have to obtain the Sut network and ip and run check image (elastest/etm-check-service-up) provided by ElasTest to wait for the Sut to be ready to be used. This step is not required, you can wait in other ways or not do it, but for this example we do it.
echo 'Sut ip: '+ sutIp
sh 'docker run -e IP=' + sutIp + ' -e PORT=8000 --network=' + sutNetwork + ' elastest/etm-check-service-up'
We need added the following code in the Pipeline:
def getFirstNetwork(containerName) {
    echo "Inside getFirstNetwork function"
    network = sh (
        script: "docker inspect " + containerName + " -f \"{{json .NetworkSettings.Networks}}\" | awk \"{sub(/:.*/,\\\"\\\")}1\" | awk \"{sub(/\\\"/,\\\"\\\")}1\" | awk \"{sub(/\\\"/,\\\"\\\")}1\" | awk \"{sub(/{/,\\\"\\\")}1\"",
        returnStdout: true
    ).trim()

    echo containerName+" Network = " + network;
    return network;
}

def containerIp(containerName, network) {
    echo "Inside containerIp function"
    containerIp = sh (
        script: "docker inspect --format=\"{{.NetworkSettings.Networks." + network + ".IPAddress}}\" "+ containerName,
        returnStdout: true
    ).trim()

    echo containerName+" IP = " + containerIp;
    return containerIp;
}
This code obtain the network and the ip of the SUT container this information is needed for wait the SUT is ready to launch the Tests.
- Test Execution : Finally, the tests should be executed to verify that the SUT is working correctly. Remember that you have to configure the Sut ip as an environment variable or pass it as a maven property so that the test knows where the SUT is.
withEnv(['ET_SUT_HOST=' + sutIp]) {
    echo 'Set up test environment'
    mvnHome = tool 'M3.3.9'
    echo 'Cloning repository'
    git 'https://github.com/elastest/demo-projects'
    echo 'Run test'
    sh "cd ./rest/junit5-rest-test;'${mvnHome}/bin/mvn' -B -DforkCount=0 test"
}
Copy the ElasTest Pipeline and paste it in the Pipeline section, as follows:
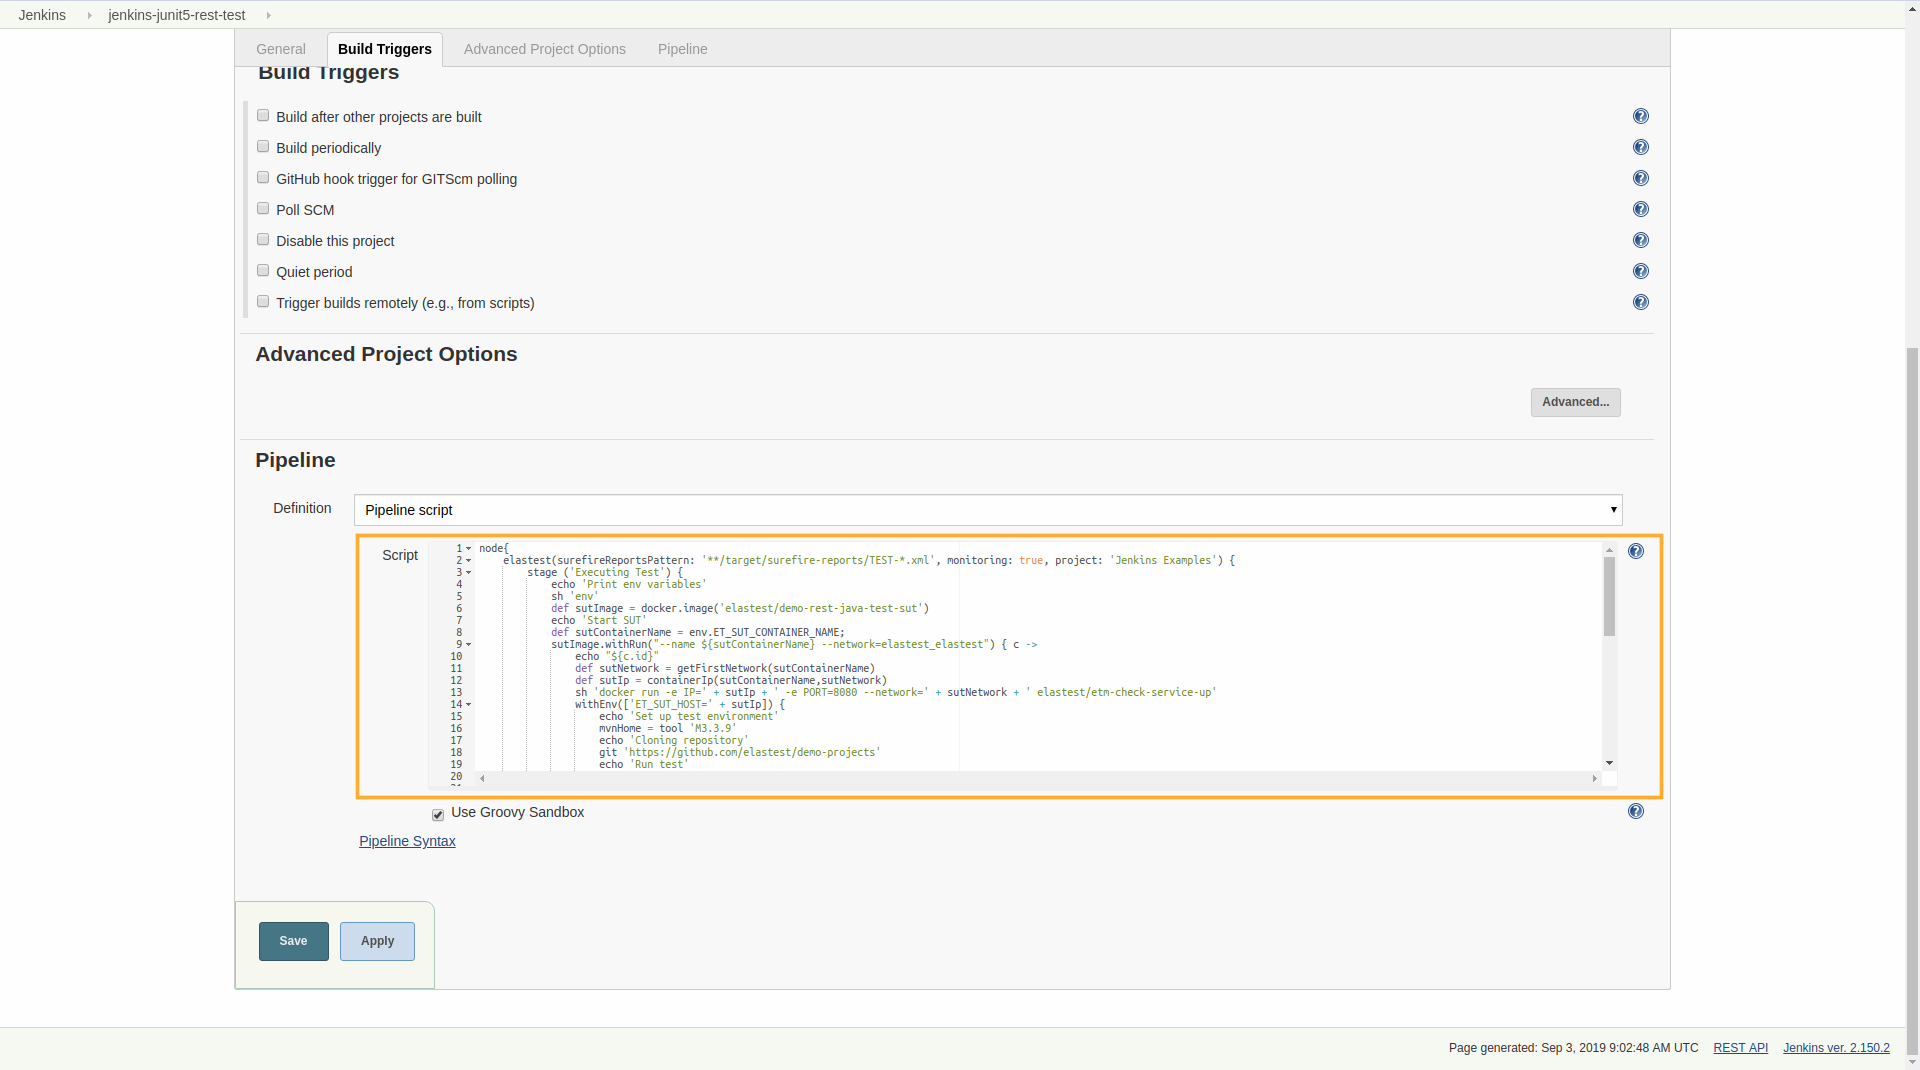
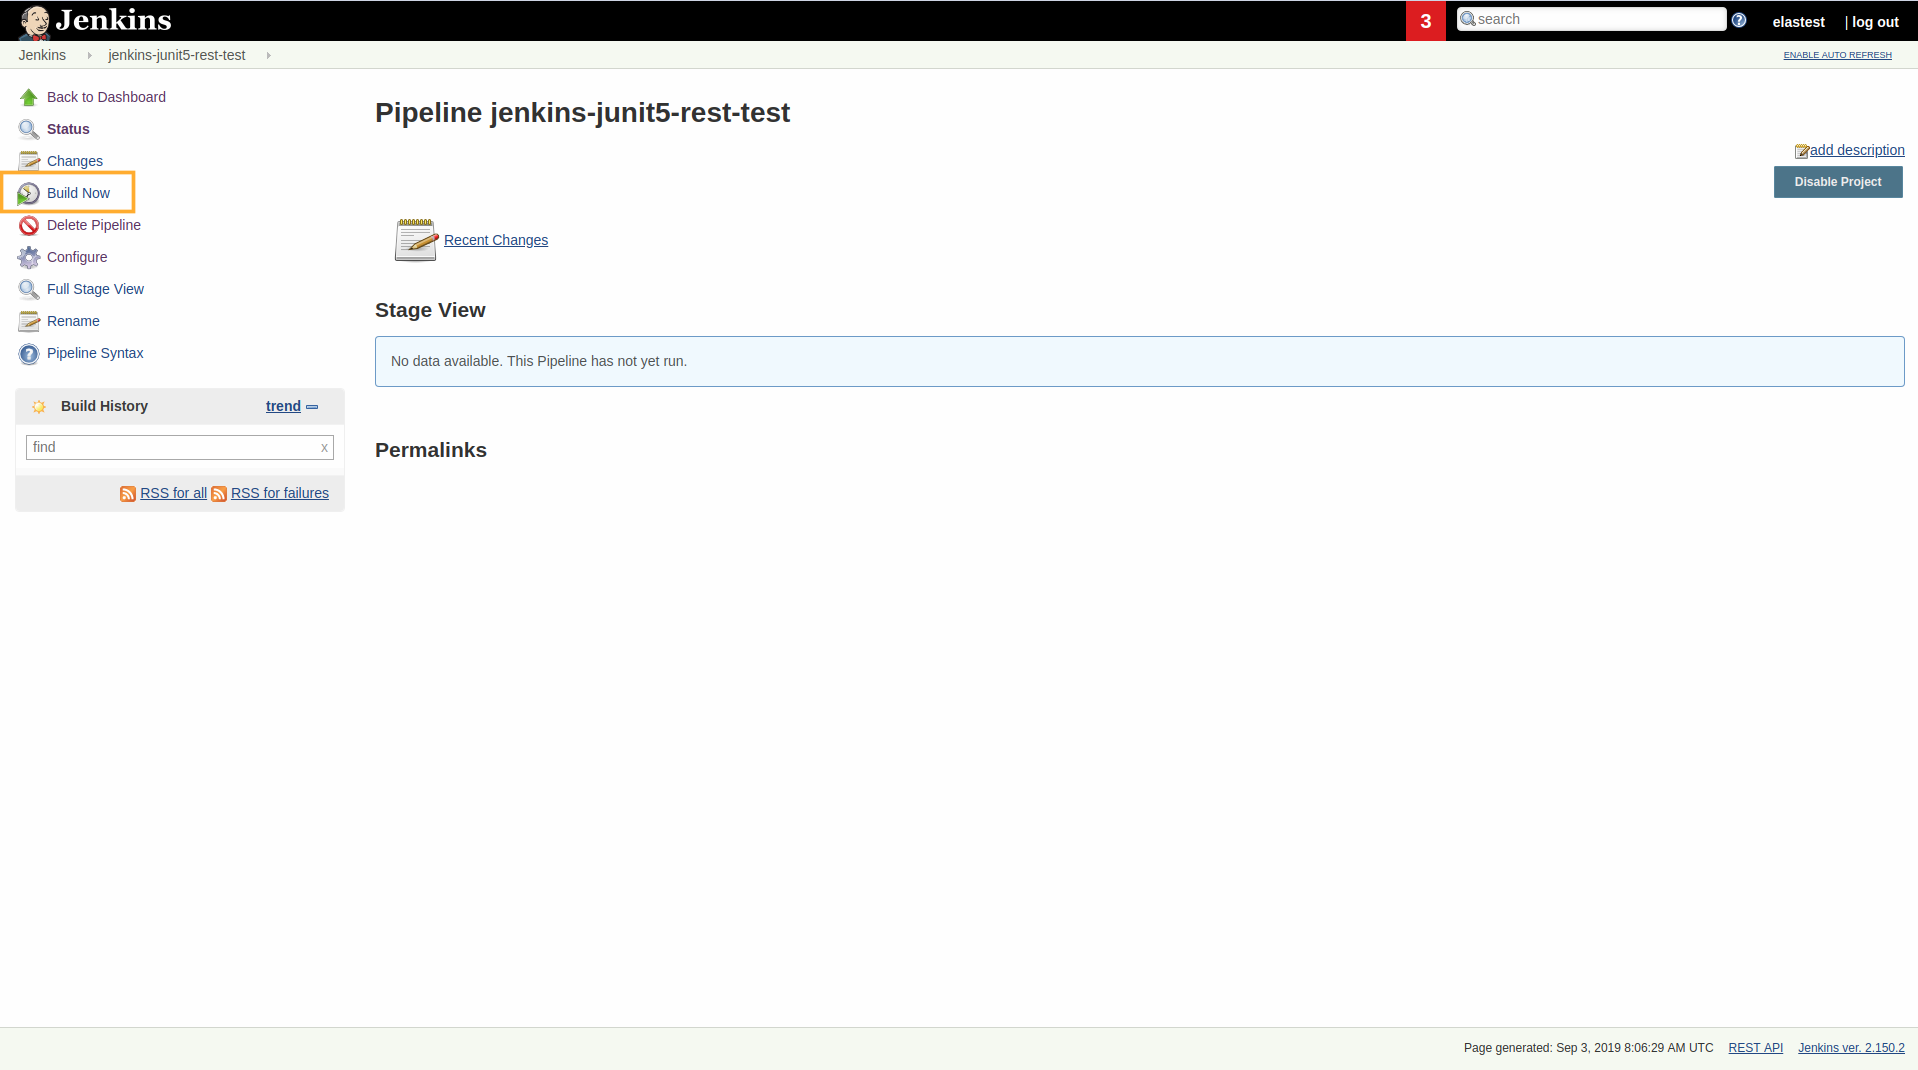
4. Inside Pipeline page
When we inside into the Pipeline page we will click in the Build Now to launch the Job in ElasTest
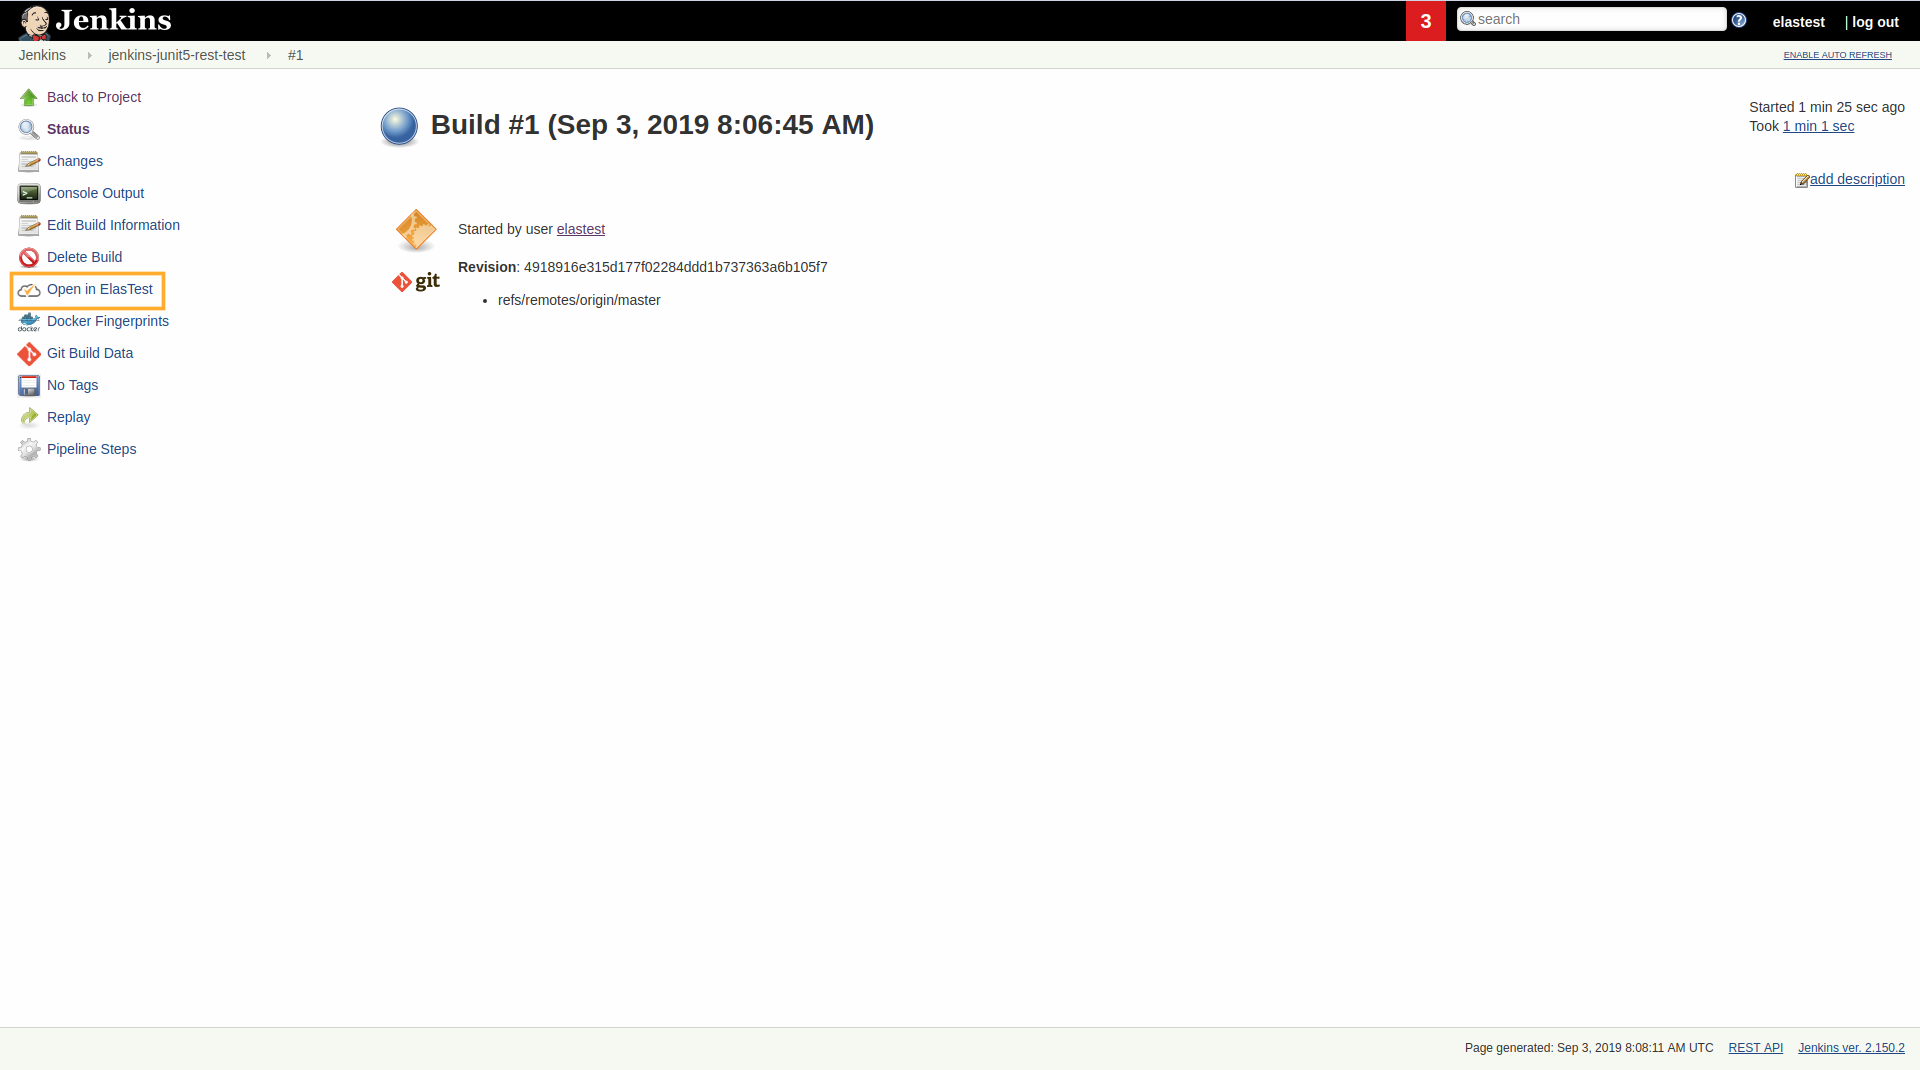
5. Go to the TJob execution screen
Entering the build page, you will see the Open in ElasTest button, where you can see the execution page in ElasTest (If the button does not appear refresh the page, it may take a while).
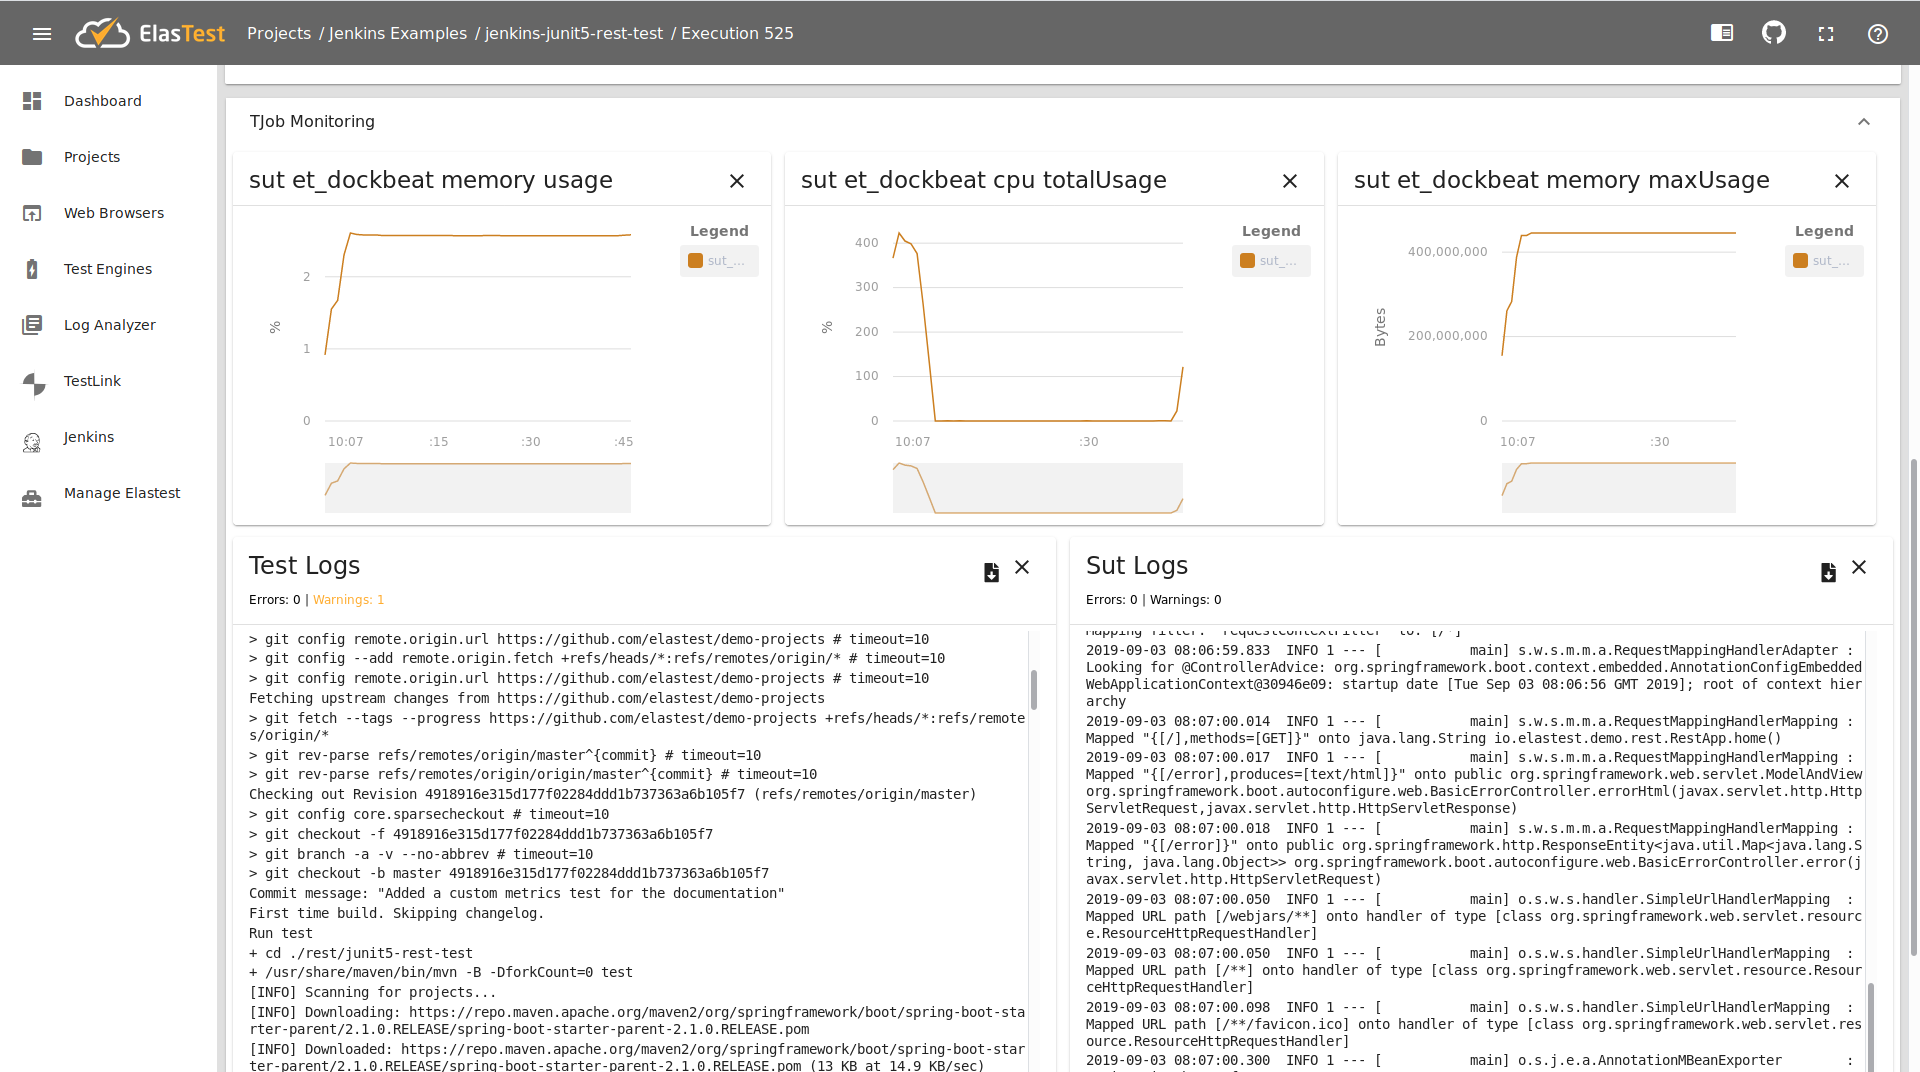
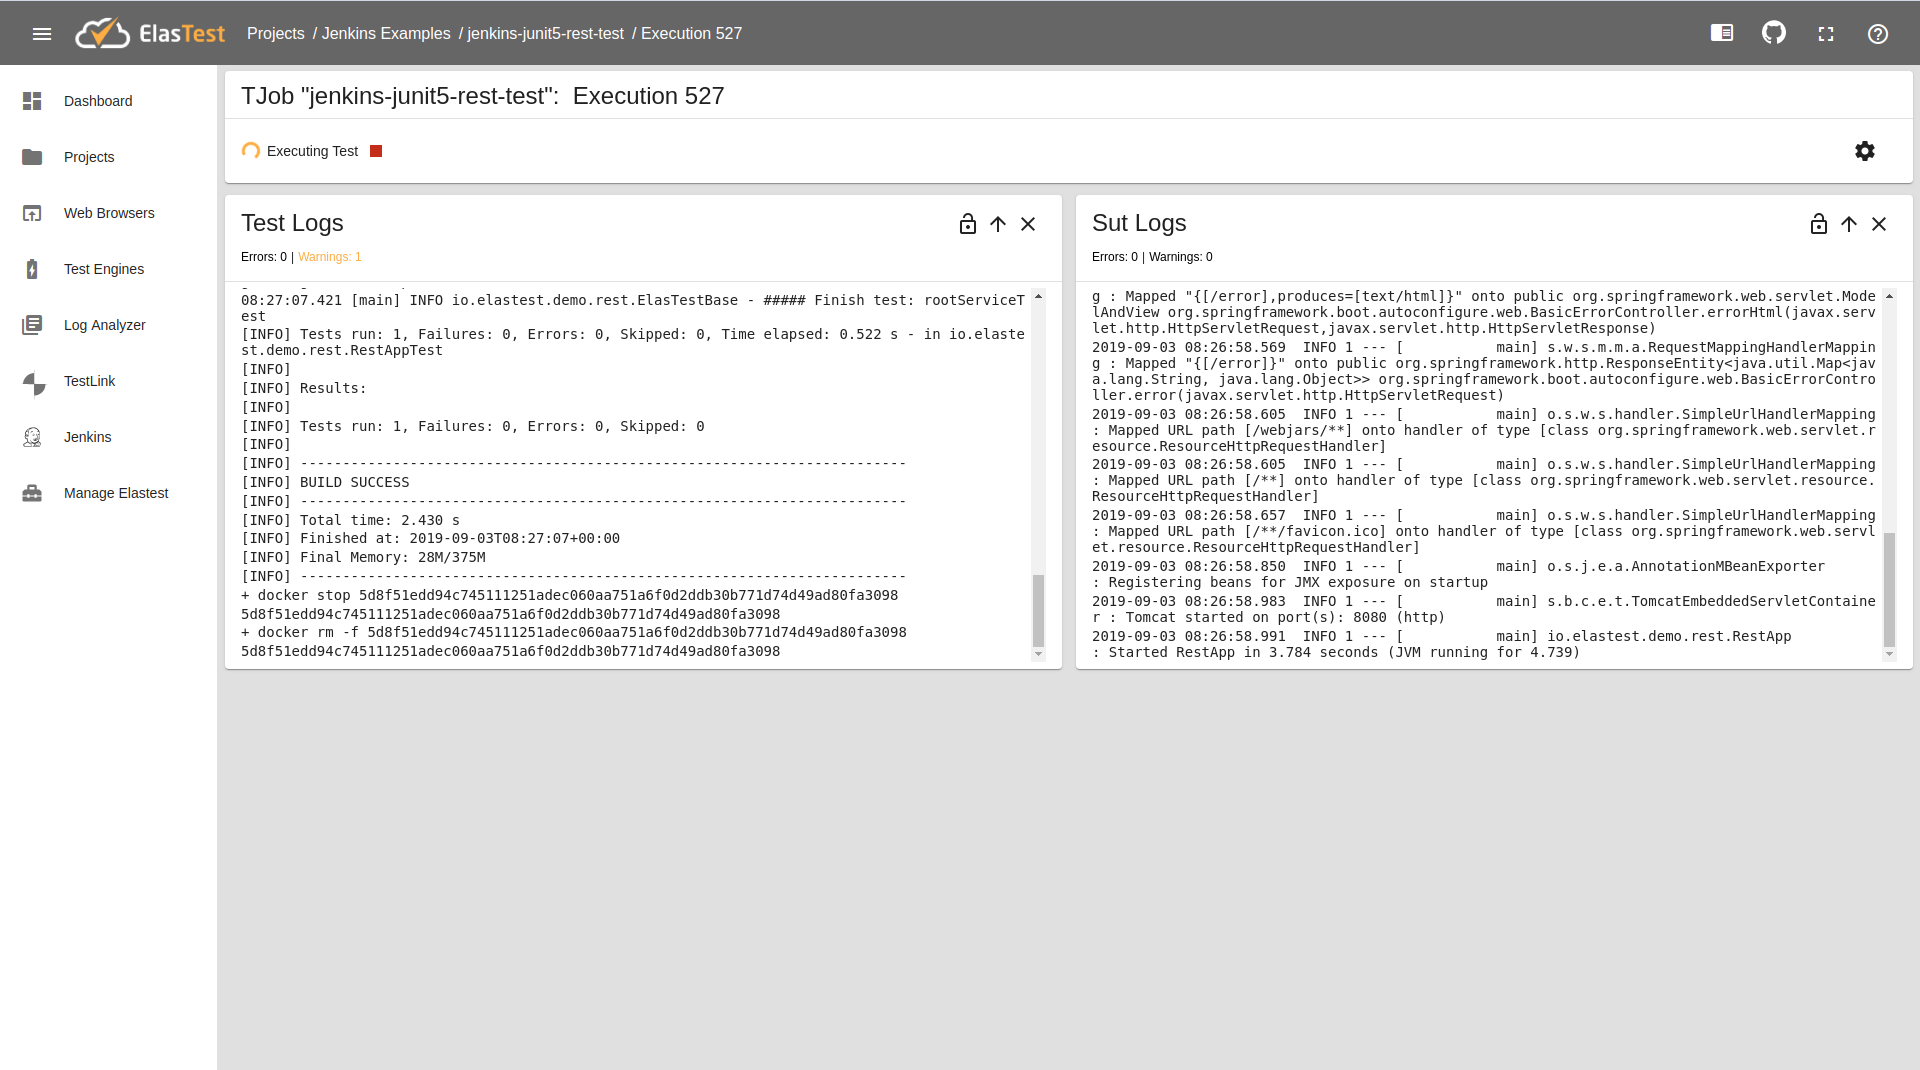
When the TJob was opened you will see the test information and logs:
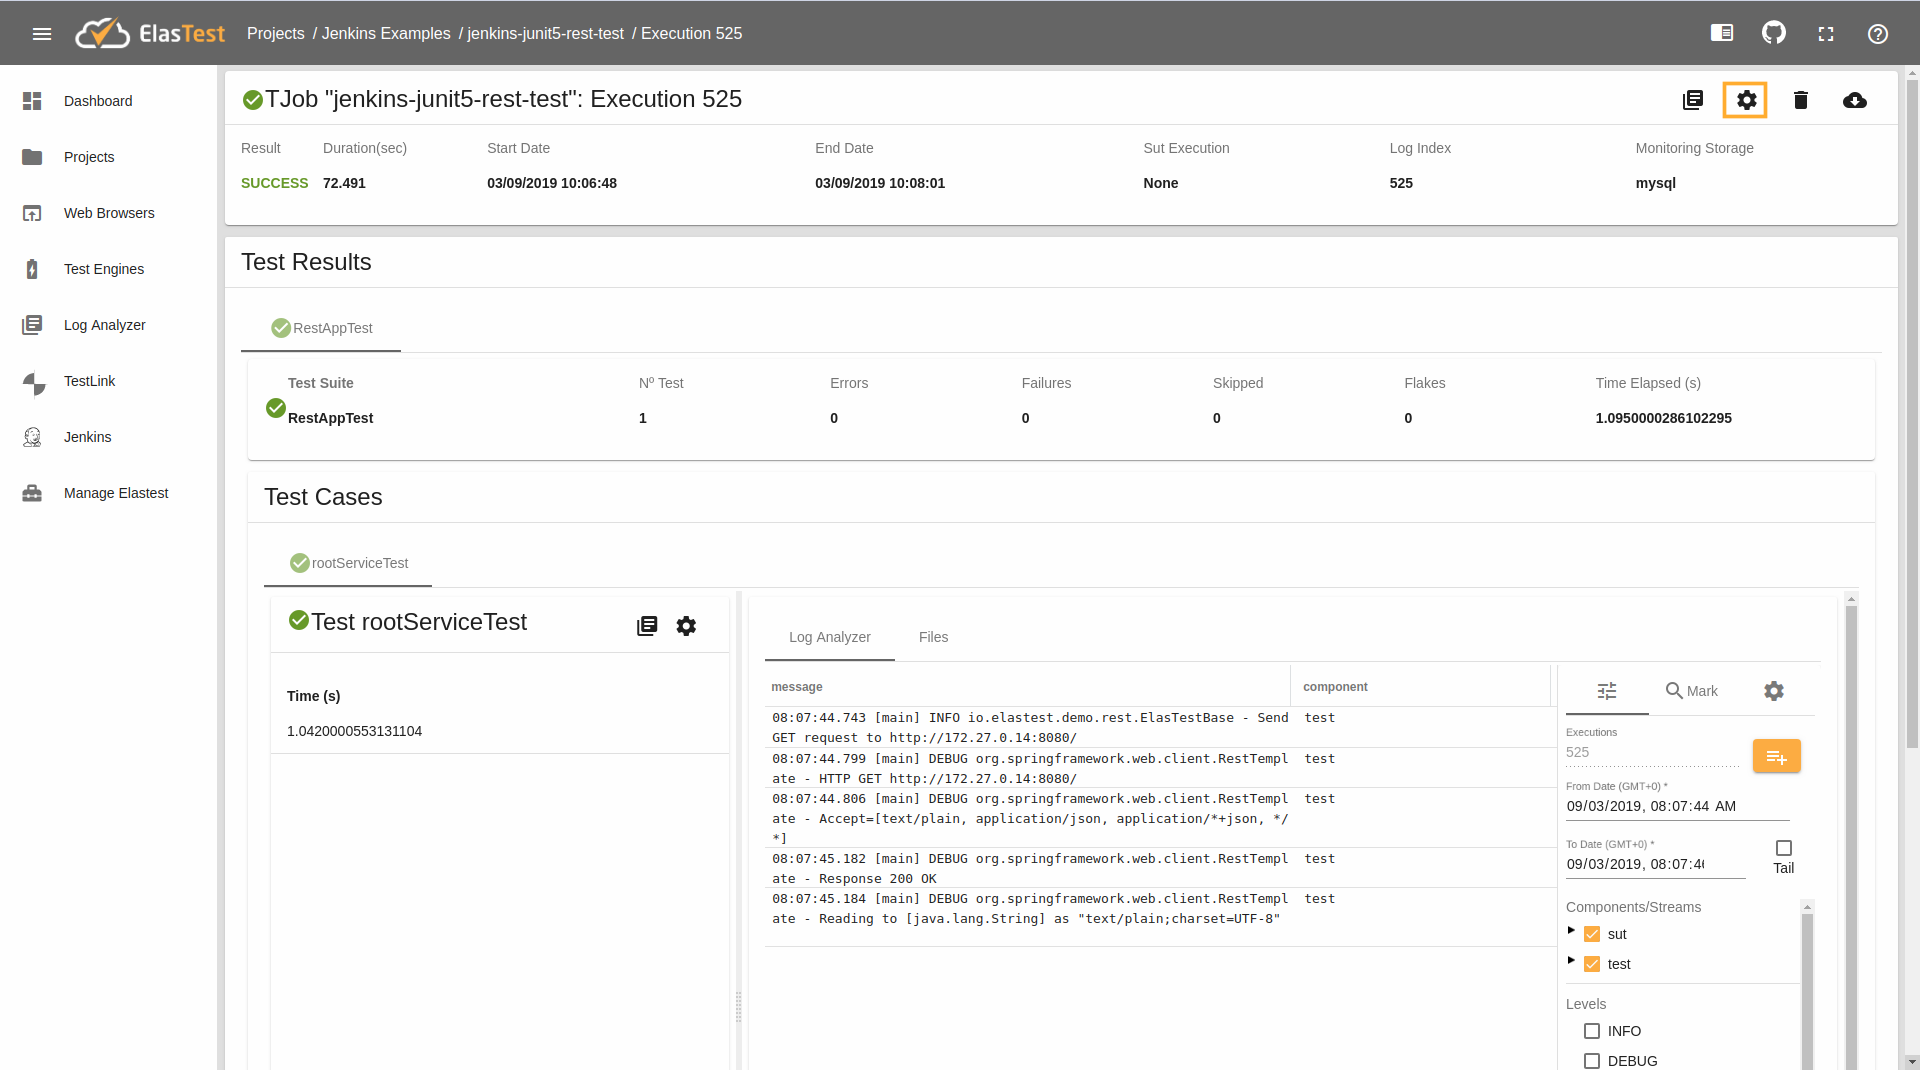
Once the test is finished you will see the test results and log. Eventually the test should end succesfully.
IMPORTANT: ElasTest make use of xml results file to get all the test results information.
You can also click on one of them to navigate to the information section of this Test Case, where you can see their logs filtered thanks to the two traces of logs that the class ElasTestBase prints at the beginning and end of each test and that we have commented above. There's only one in this TJob, so we'll navigate to this one (rootServiceTest):

If we would like see other logs we can select this logs in this section:

6. Show metrics
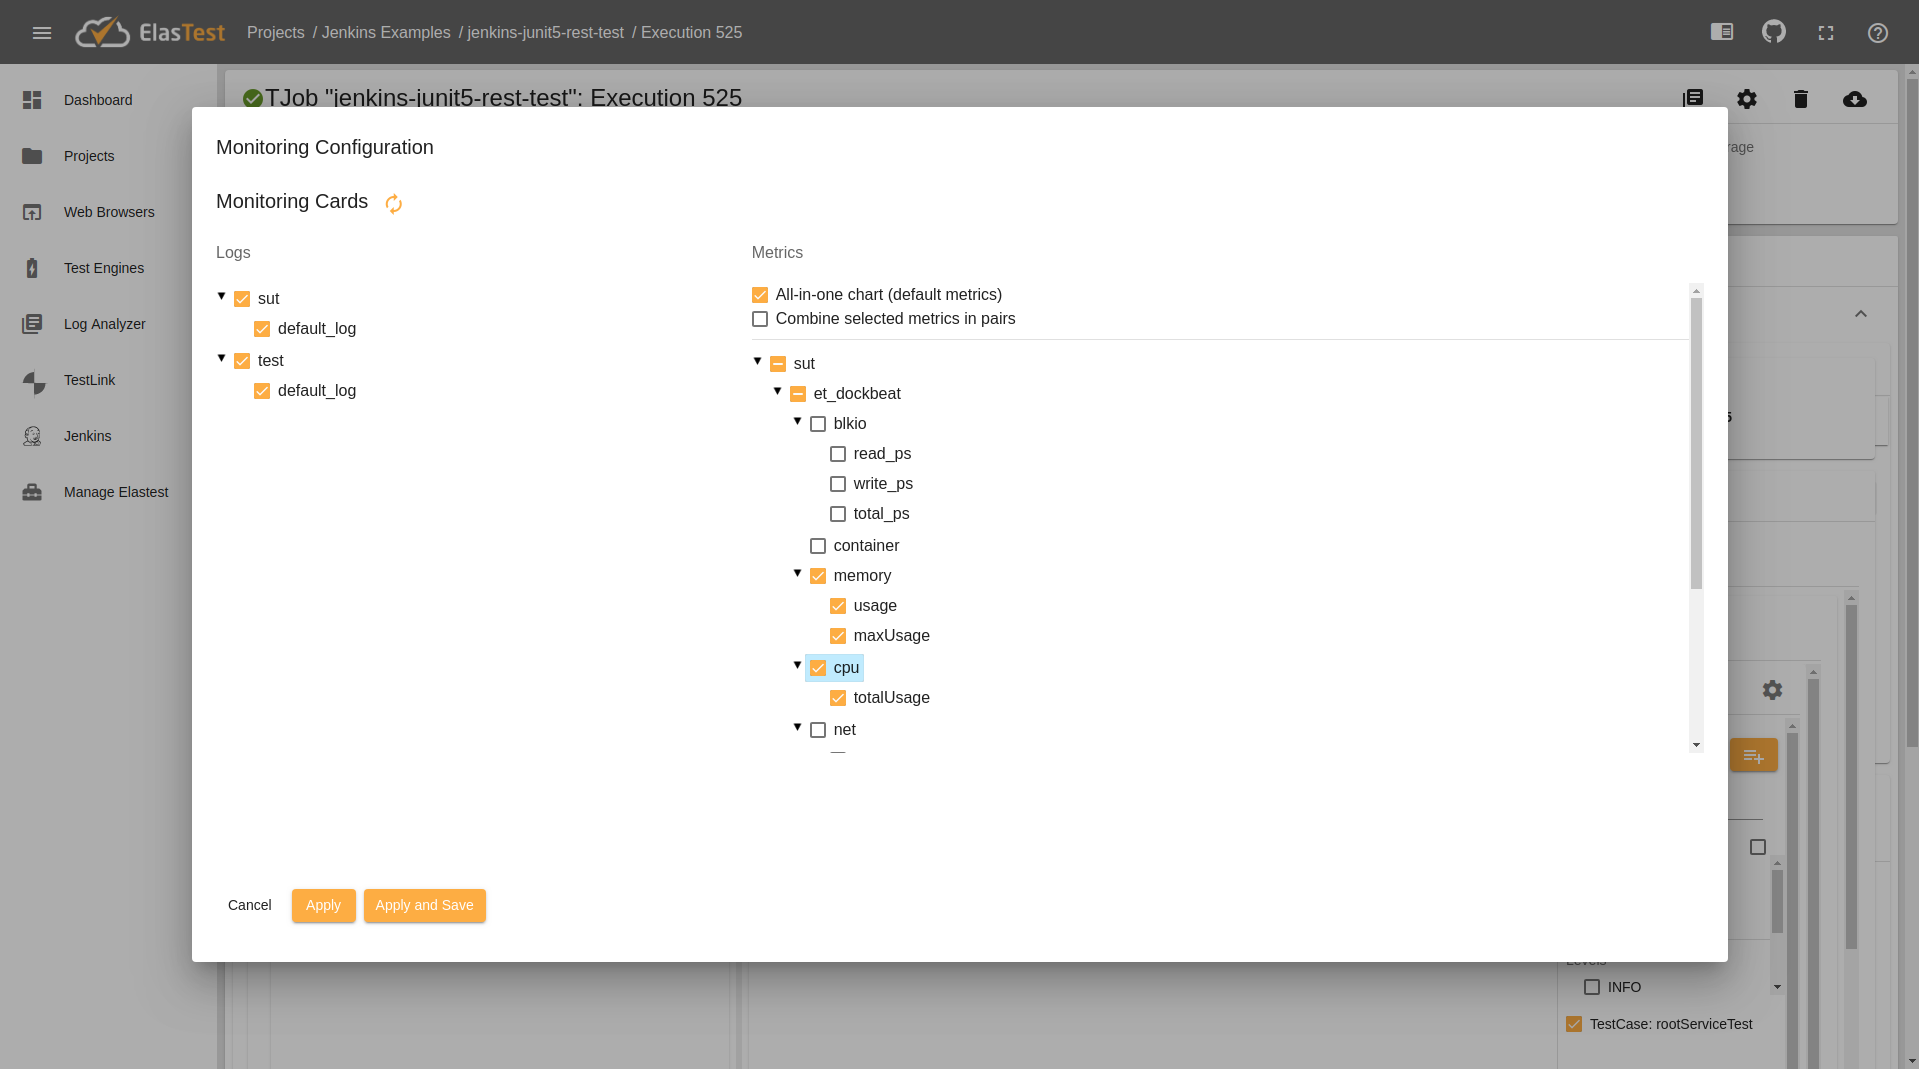
We can show metrics of the test executions for different components. We select them in this button:
We select the metrics that like view and push 'Apply and Save':
We can see the selected metrics in the bottom of the page